
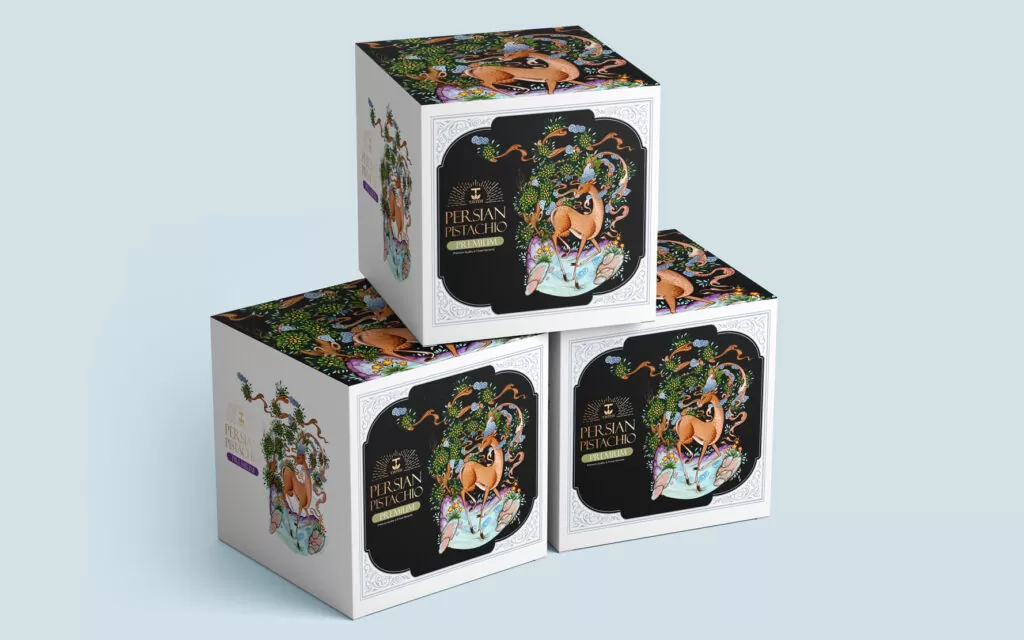
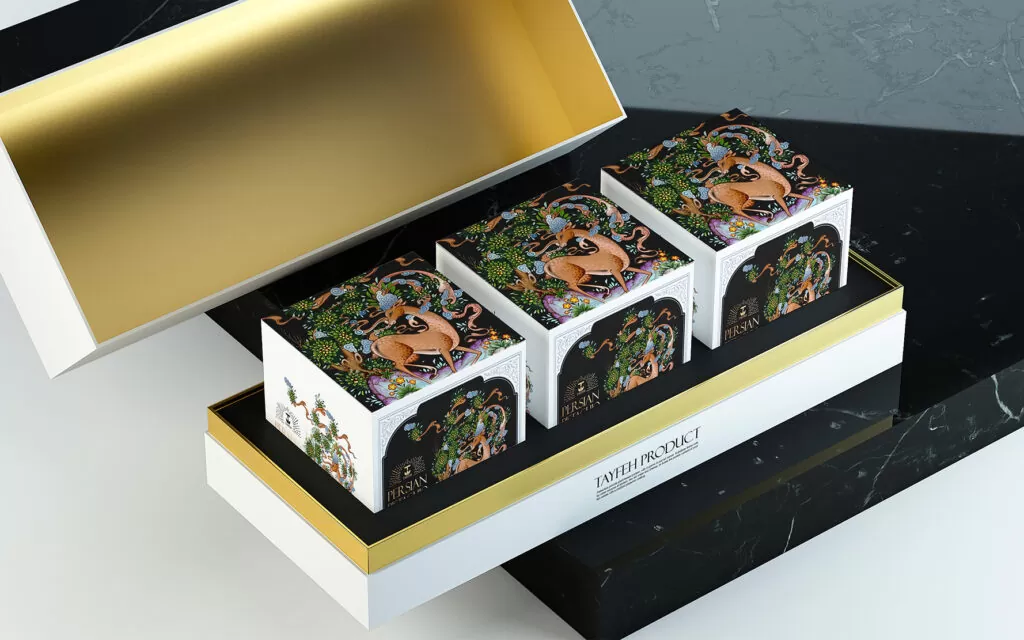
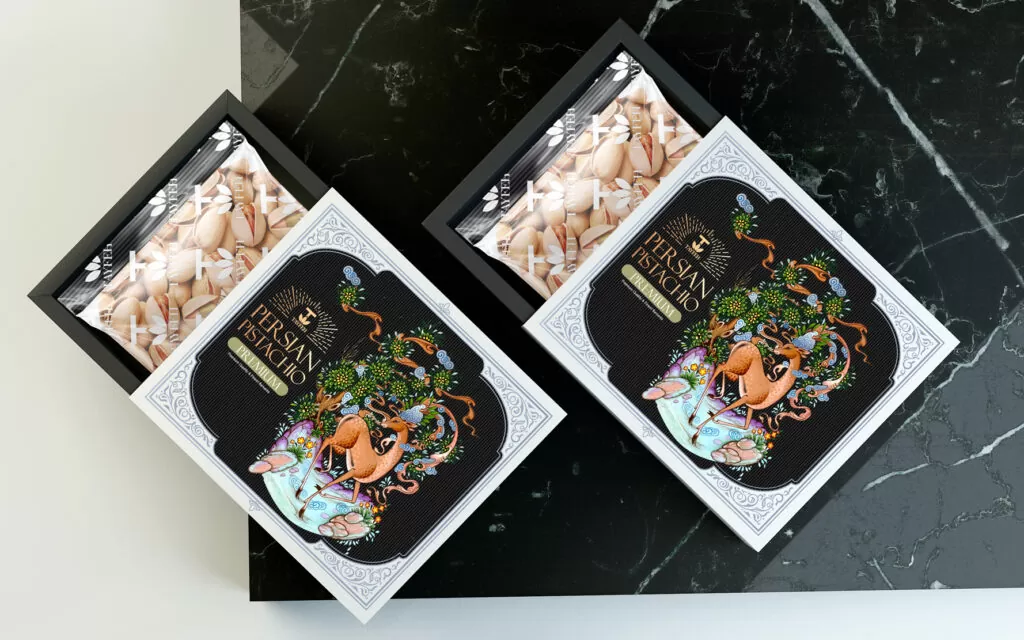
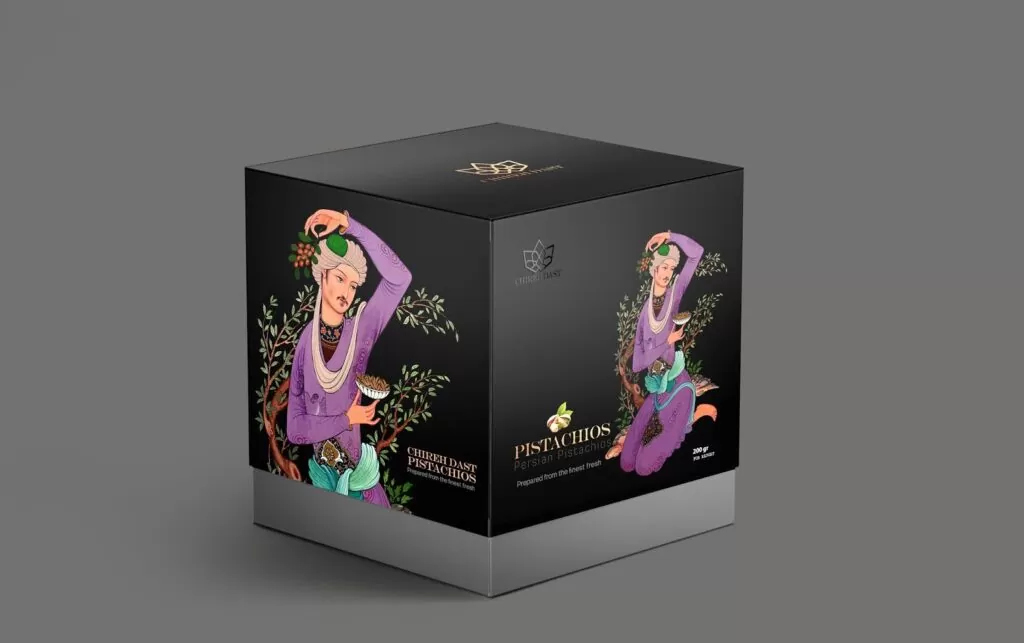
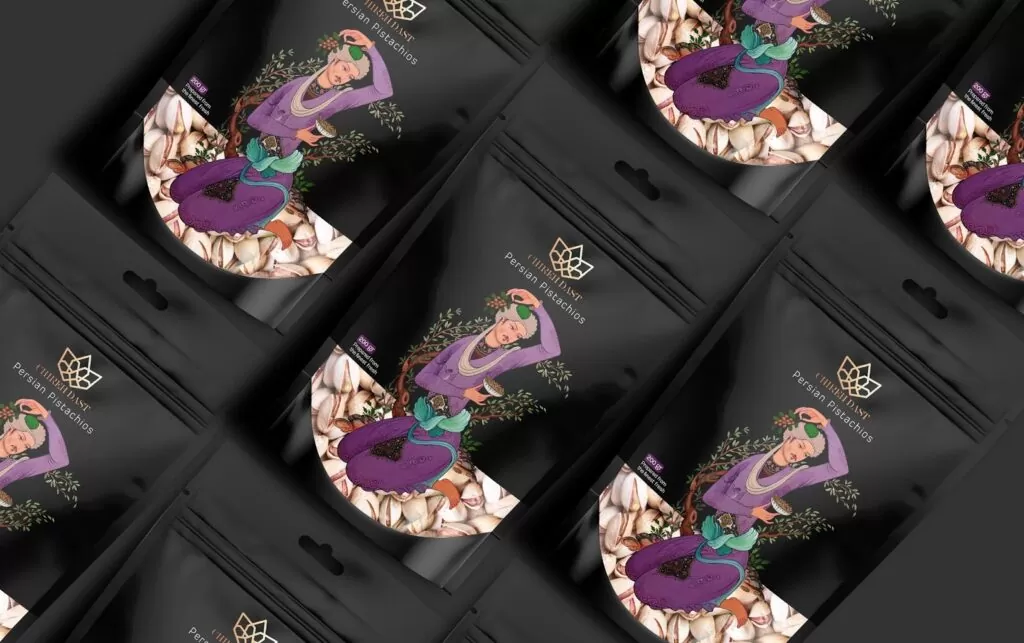
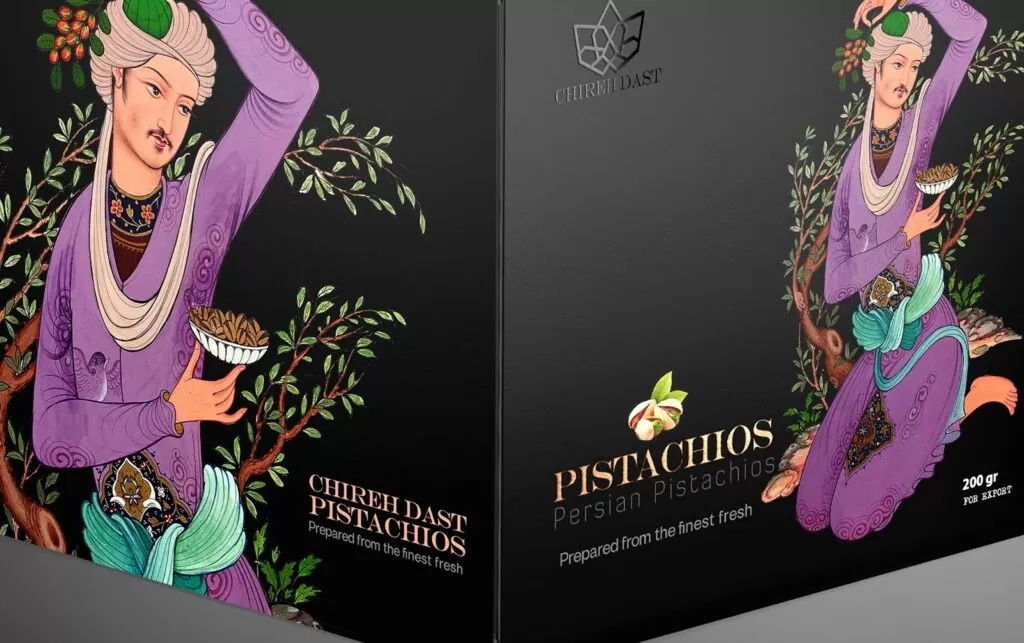
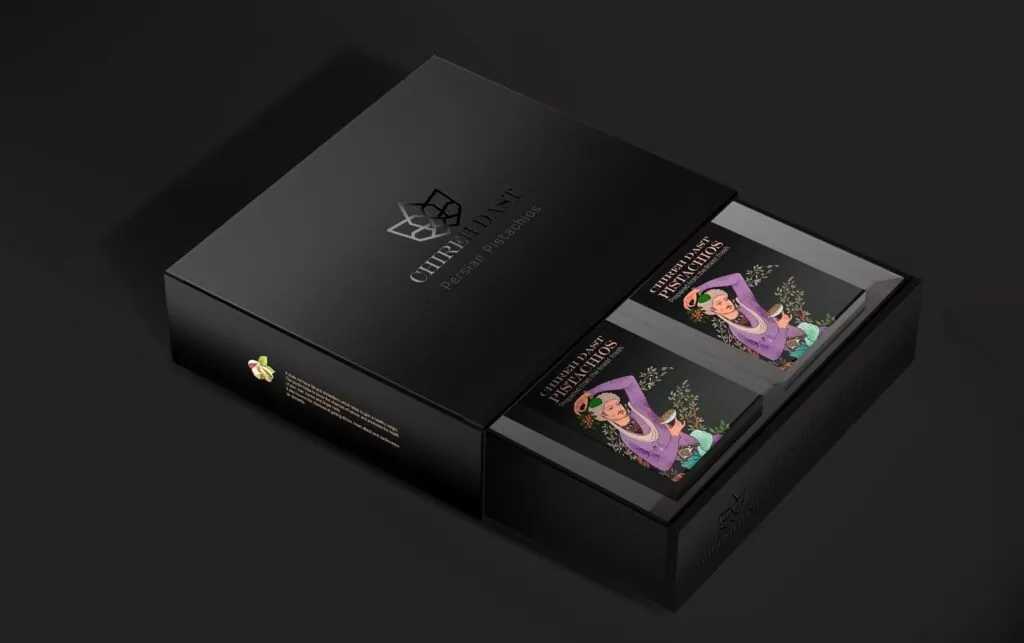
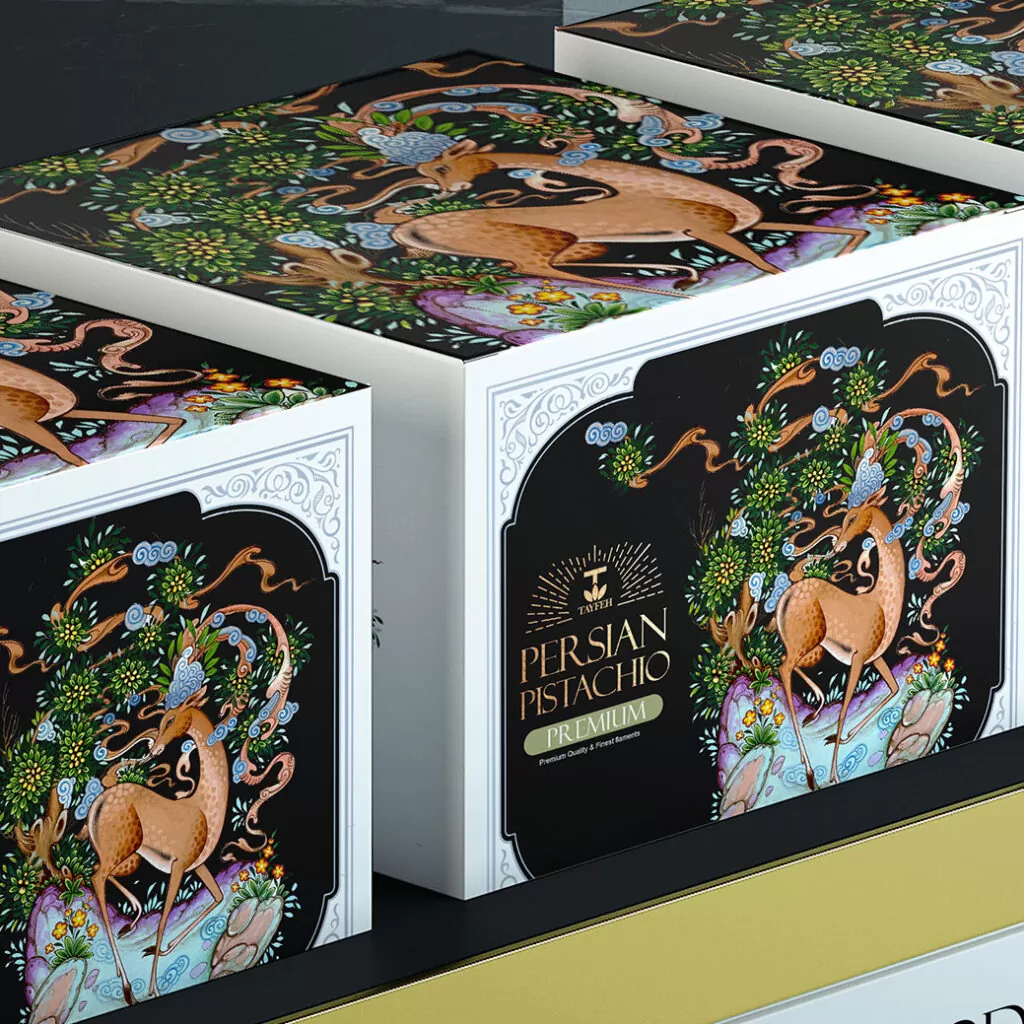
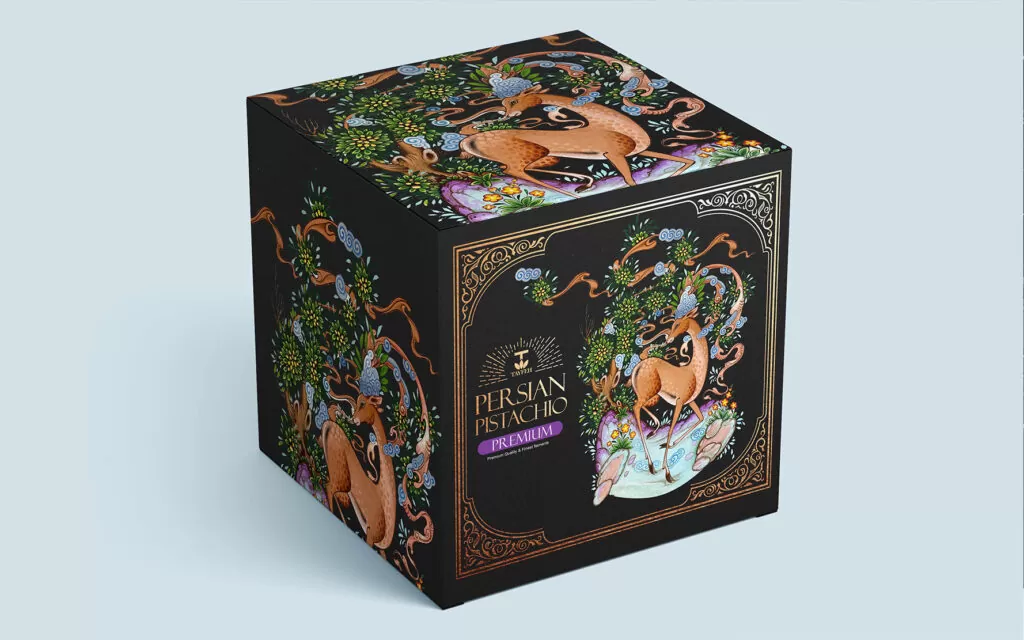
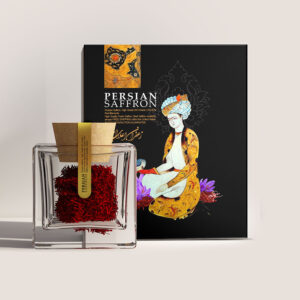
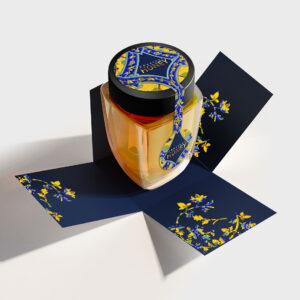
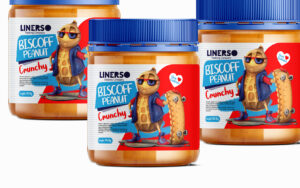
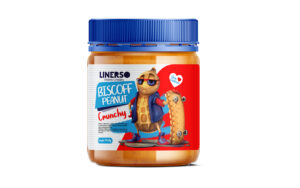
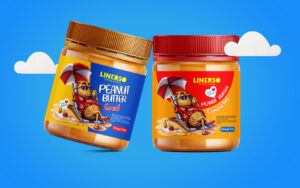
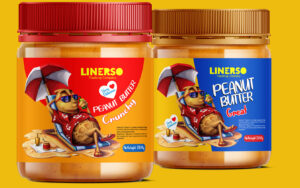
Packaging Design
designing with over three years of experience and the opportunity to work with over nine amazing brands, I absolutely love packaging design because it lets me bring creativity to life in a way that really connects with people. There’s something so rewarding about creating a design that looks stunning and tells a brand’s story while keeping all the details of the printing process in mind. My background in printing helps me ensure the final product looks just as beautiful in real life as it does on the screen—it’s the perfect blend of art and practicality!
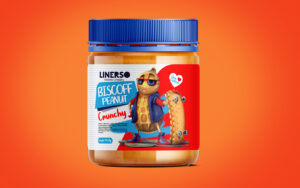
Create Mock up
Creating a mock-up before starting any design project is always important because it allows you to visualize how the final product will look and function in real-world scenarios. A mock-up helps catch any potential design issues early on, giving both the designer and client a clear idea of the outcome before investing time and resources into full production. It also ensures that the design aligns with the project’s goals and provides a solid foundation for feedback and revisions

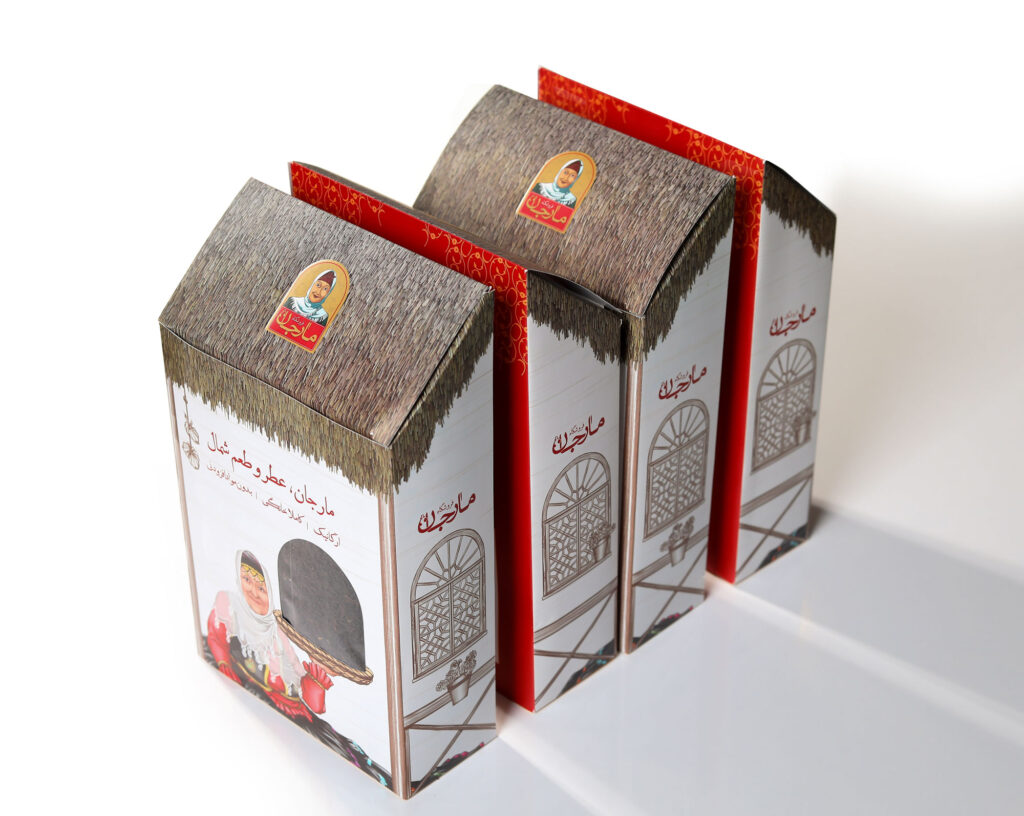
Make Die line
die line, which is essentially the blueprint of the packaging. This outlines where the cuts, folds, and creases will be, ensuring the packaging can be assembled properly. At this stage, it’s important to carefully select the materials, whether it’s cardboard, plastic, or eco-friendly options, while keeping the budget in mind. The goal is to choose materials that are durable, cost-effective, and suitable for the product, all while ensuring they meet the customer’s aesthetic and functional requirements. Balancing these factors guarantees that the final design not only looks great but is also practical to produce and distribute efficiently.

After finalizing the die line and selecting the materials within budget, the next steps in the packaging design process are:
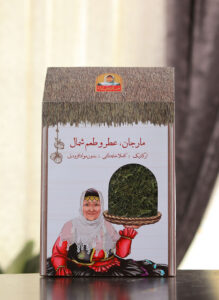
Design Refinement: Incorporate all final design elements—logos, colors, typography, and imagery, onto the die line to ensure everything fits perfectly within the package layout. This includes accounting for printing areas, bleed, and safety zones.
Prototyping: Create a physical or digital prototype using the die line and chosen materials to ensure the design functions as expected. This prototype helps identify any last-minute adjustments needed for size, fit, or visual appeal.
Client Approval: Present the final design and prototype to the client for review. Gather feedback, make necessary revisions, and ensure the client is fully satisfied before moving forward.
Pre-press and Production Setup: Prepare the final files for the printer, ensuring all color profiles, die lines, and elements are correctly formatted. Collaborate with the printing company to confirm the design is ready for production and address any technical considerations.
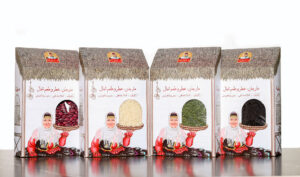
Mass Production: Once everything is approved, the design is sent to production, where the final packaging is printed, cut, and assembled according to the die line specifications.
Quality Control: After production, review the final product to ensure it meets the design specifications, quality standards, and the client’s expectations.
